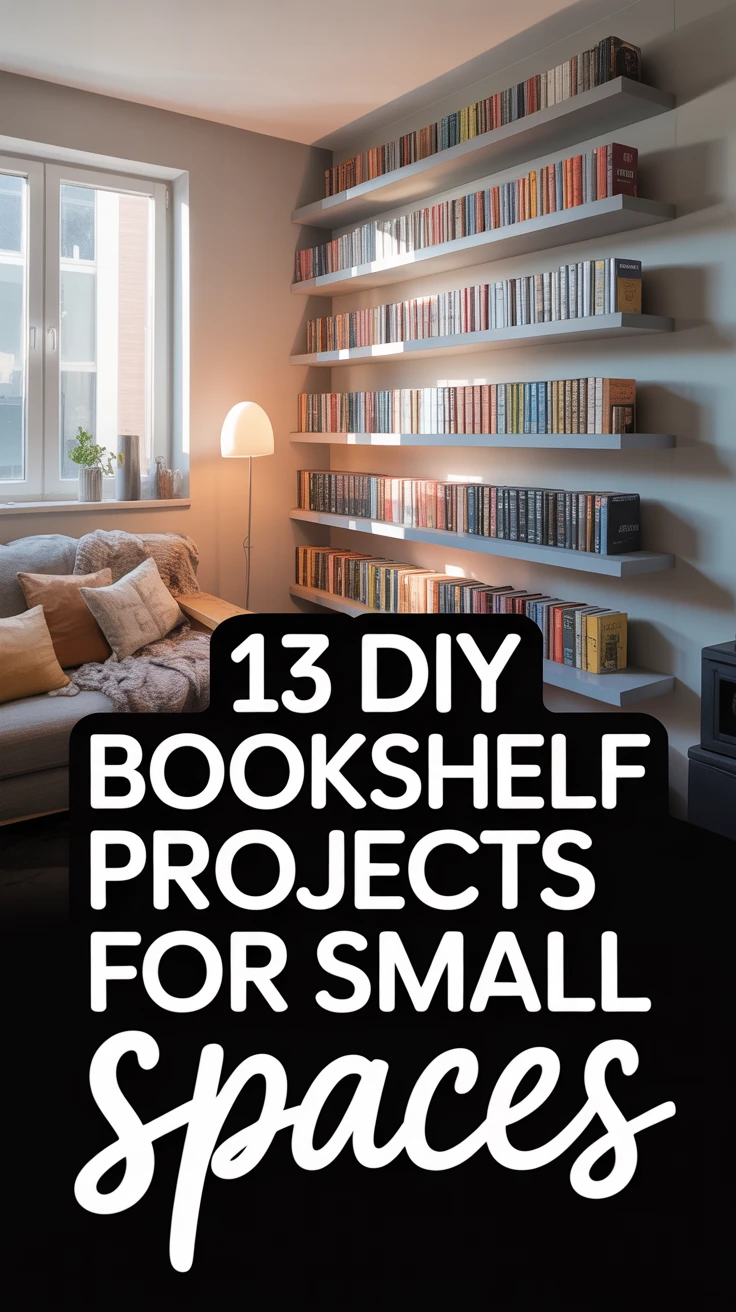
Introduction
In today’s compact living environments, finding space for your beloved book collection can be challenging. As someone who’s lived in several small apartments, I’ve faced this dilemma firsthand. That’s why I’ve become somewhat of an expert at creating DIY bookshelf projects that maximize storage without overwhelming limited space. Whether you’re in a studio apartment, tiny house, or just looking to optimize an awkward corner, these 13 creative bookshelf ideas will help you display your literary treasures while enhancing your décor. I’ve personally built several of these designs and can attest to their practicality and visual appeal.

- Adjustable louvered roof lets you control sun, shade, and airflow.
- Built-in gutter system keeps the area dry during rain.
- Durable powder-coated aluminum frame resists rust and weather.
- Includes waterproof curtains and mosquito netting for privacy and protection.

- Smooth contours and seamless design
- Up to 325 square feet of shaded paradise
- Features 4.53×4.53 inch reinforced columns
- Say goodbye to water buildup woes! Our innovative drainage system of this hardtop pergola discreetly whisks away excess water
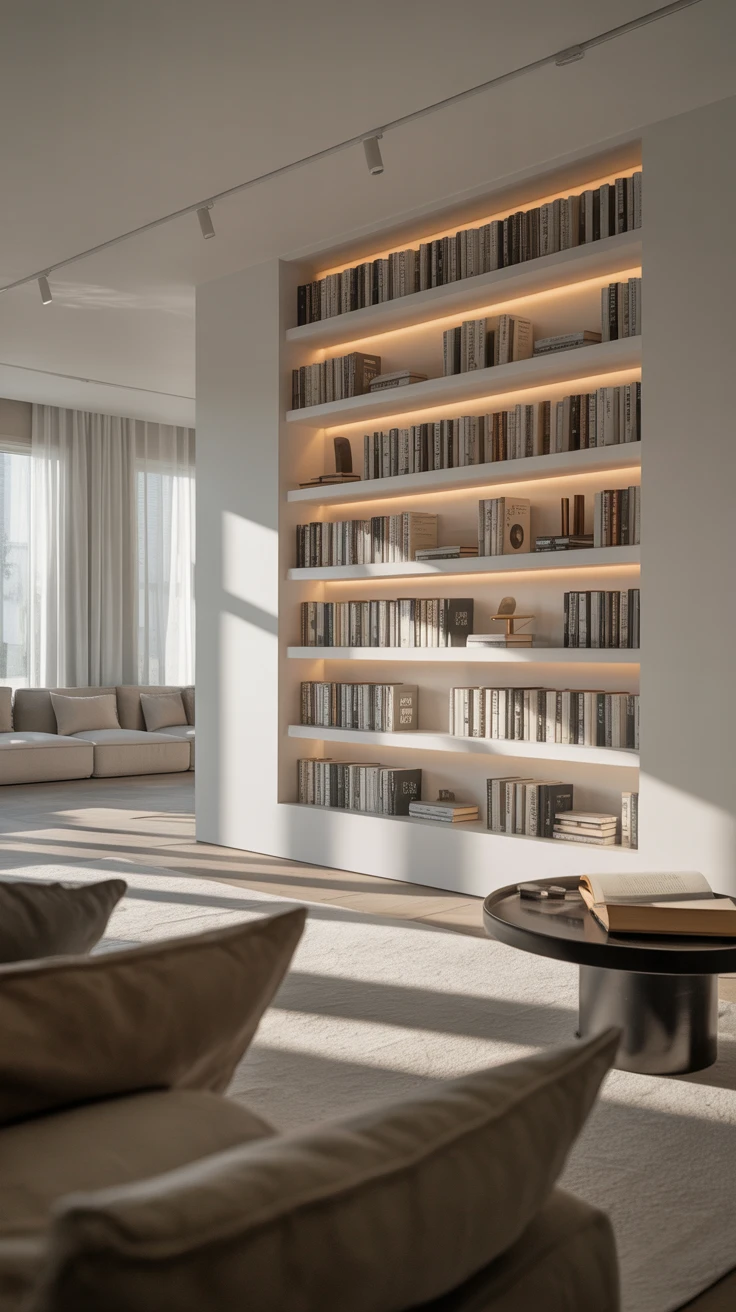
1. Create Illusion with Floating Bookshelves

Floating bookshelves create a magical, space-saving solution that draws the eye upward, making your room feel larger. I installed these in my first apartment and was amazed at how they transformed the space.
- Use L-shaped metal brackets concealed by books
- Install at varying heights for visual interest
- Choose sturdy brackets rated for the weight of your books
- Ensure proper wall anchoring for safety
Pro Tip: When installing floating shelves, use a level and mark your drill holes with painter’s tape first. I once eyeballed it and ended up with noticeably crooked shelves that required patching and repainting!
2. Repurpose a Ladder into a Stylish Bookshelf
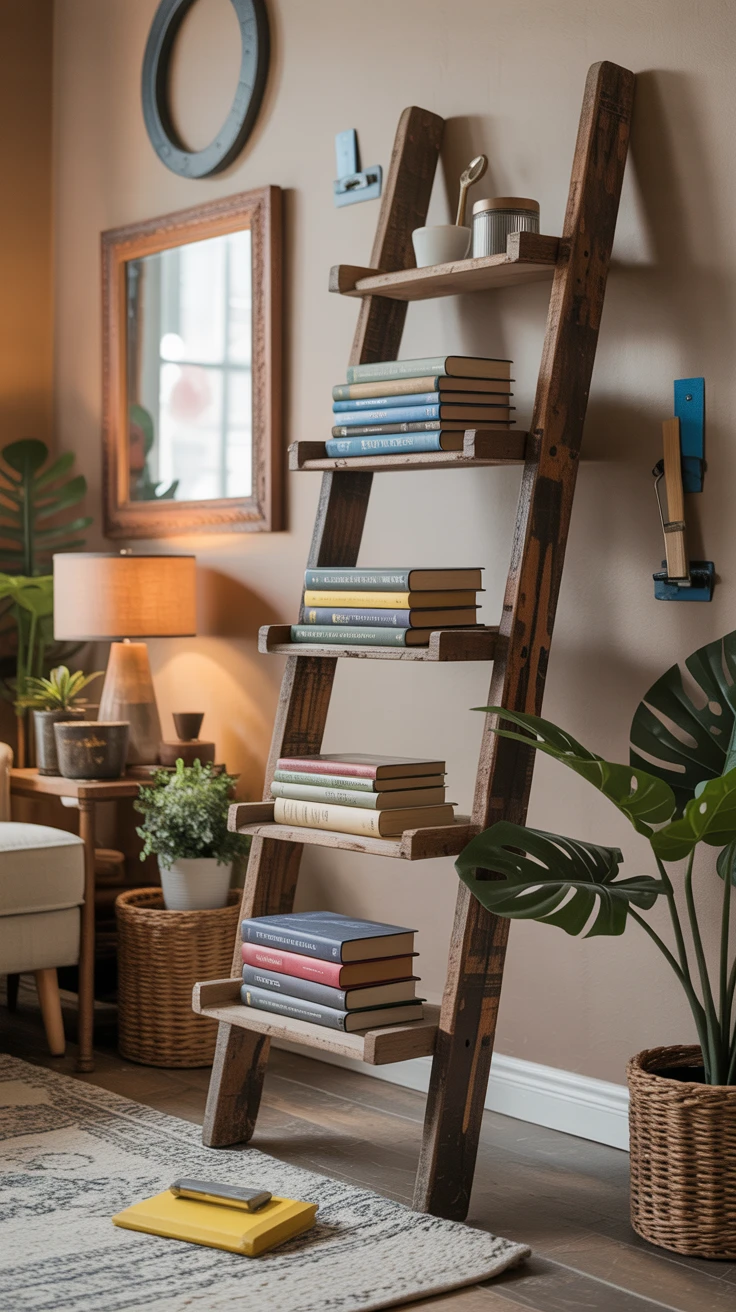
An old wooden ladder can be transformed into a charming, leaning bookshelf that adds rustic character to any room. I found my ladder at a garage sale for just $10 and turned it into one of my favorite pieces.
- Wooden ladder (vintage or new)
- Sandpaper (80 and 120 grit)
- Wood stain or paint
- Clear polyurethane finish
- Wooden planks (optional for wider shelves)
Pro Tip: Secure the top of your ladder to the wall with a small bracket to prevent tipping, especially if you have pets or children. I learned this lesson after my cat knocked mine over while climbing it!
3. Craft a Rustic Crate Bookshelf
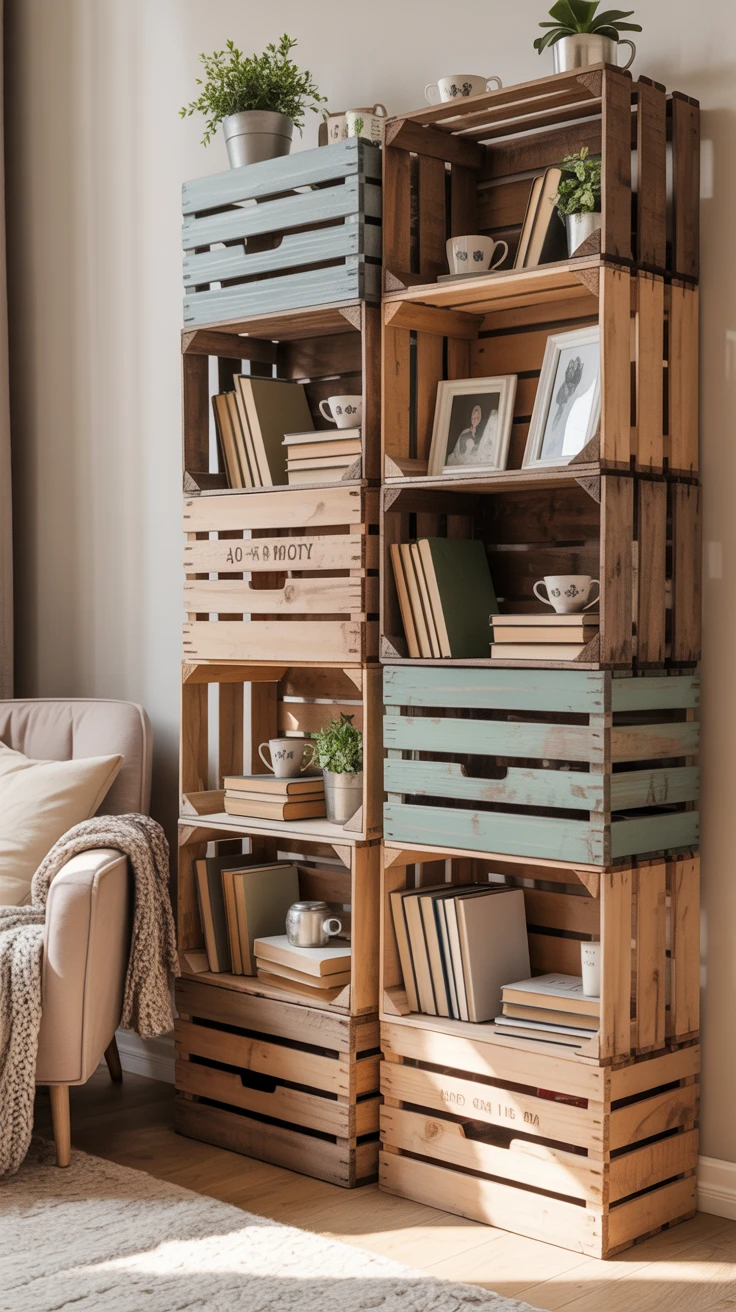
Wooden crates are incredibly versatile for creating customizable bookshelves. I’ve used this approach in multiple apartments because it’s so adaptable to different spaces.
- Stack horizontally or vertically depending on your space
- Secure crates together with screws or metal brackets
- Sand rough edges to prevent splinters
- Add a coat of paint or stain for a cohesive look
Pro Tip: Look for crates at farmers’ markets or wine shops—they’re often willing to give them away for free. I’ve saved hundreds of dollars by sourcing materials this way.
4. Maximize Corners with a Corner Bookshelf

Corner spaces are often underutilized real estate in small rooms. A corner bookshelf takes advantage of these forgotten spaces without protruding too far into the room.
- Triangular shelves fit perfectly into corners
- Consider floating corner shelves for a modern look
- Use adjustable shelving to accommodate books of different heights
- Paint the same color as your walls for a built-in appearance
Pro Tip: When designing a corner bookshelf, make a cardboard template first to test the dimensions. I once built one that was too deep and it disrupted the flow of my small living room.
5. Build a Sleek Wall-Mounted Bookshelf

Wall-mounted bookshelves free up valuable floor space while providing ample storage for your books and decorative items. These were game-changers in my narrow hallway.
- Choose boards in thickness appropriate for your book weight
- Use a stud finder to ensure secure mounting
- Consider adjustable bracket systems for flexibility
- Space shelves to accommodate your tallest books
Pro Tip: Install the top shelf at eye level or slightly higher, and place your most attractive books or decorative objects there. This draws the eye up and makes the room feel taller.
6. DIY Hanging Rope Bookshelf for a Unique Look
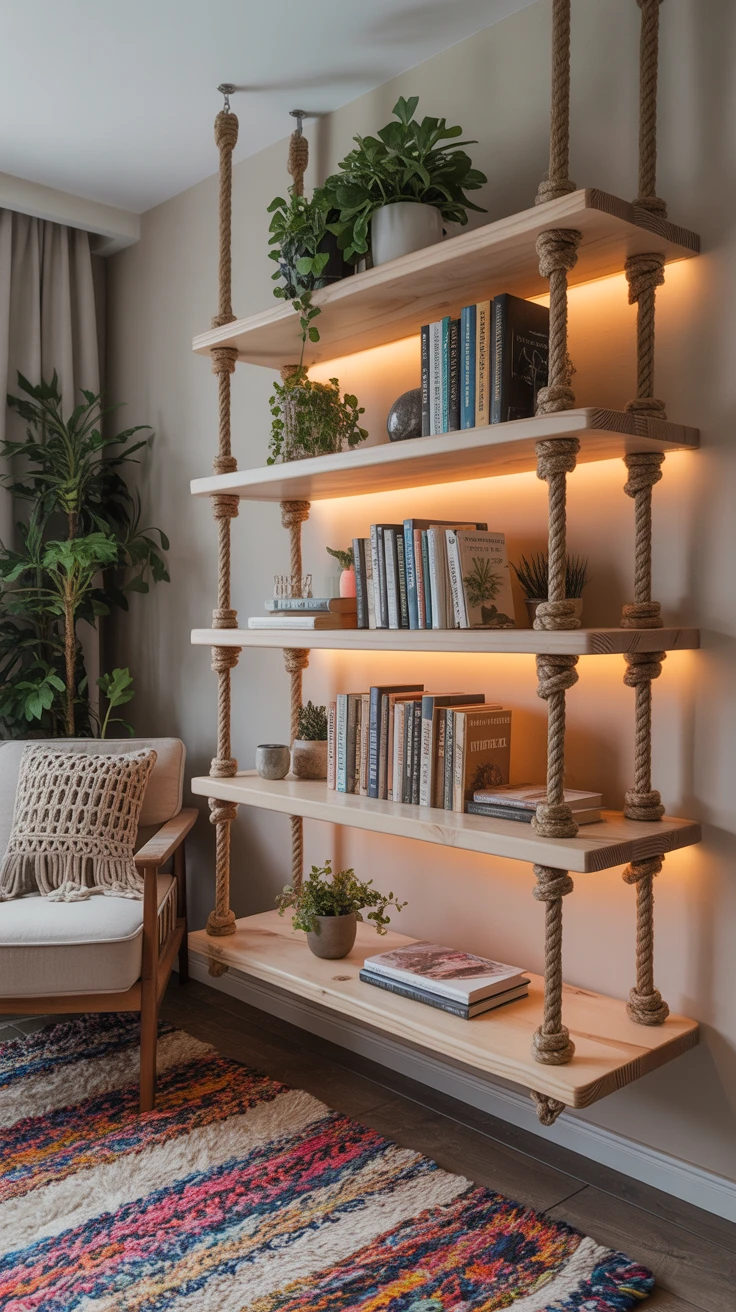
Rope shelves add a nautical or bohemian touch to your space while providing flexible storage. They’re also remarkably easy to adjust if you need to change your setup.
- Natural or synthetic rope (at least 3/4″ thick for stability)
- Wooden boards cut to desired shelf width
- Drill with spade bit for rope holes
- Ceiling hooks rated for the weight of books and shelves
Pro Tip: Use a hot knife or lighter to seal the ends of synthetic rope after cutting to prevent fraying. I skipped this step once and ended up with a mess of frayed fibers within weeks.
7. Design a Tree Bookshelf for a Natural Appeal
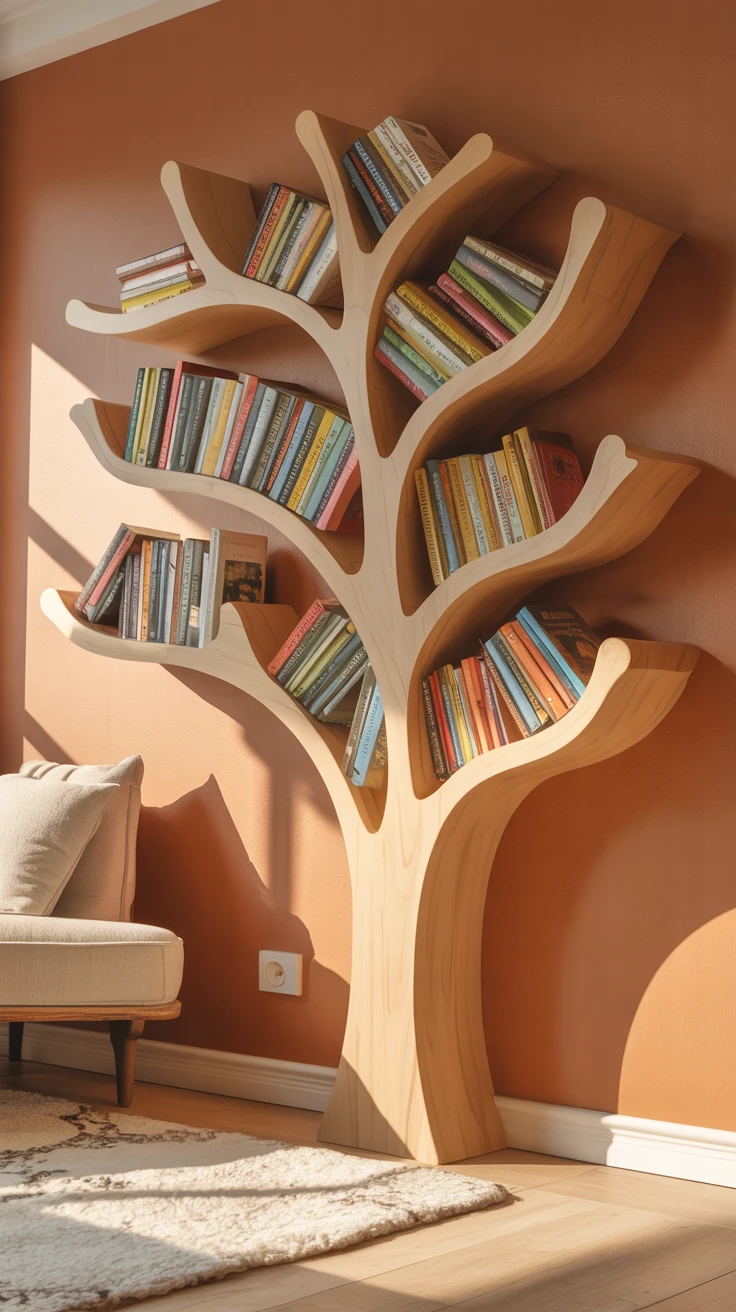
A tree-shaped bookshelf makes a whimsical statement while efficiently storing books in a small footprint. This project gets the most compliments of any DIY bookshelf project I’ve completed.
- Design branches to hold books of varying sizes
- Use plywood for the tree silhouette
- Add small ledges on branches to secure books
- Paint in natural wood tones or a bold color for contrast
Pro Tip: Create a paper template of your tree design and tape it to the wall before cutting any wood. This helps visualize the final product and makes adjustments easier.
8. Transform Pallets into a Functional Bookshelf
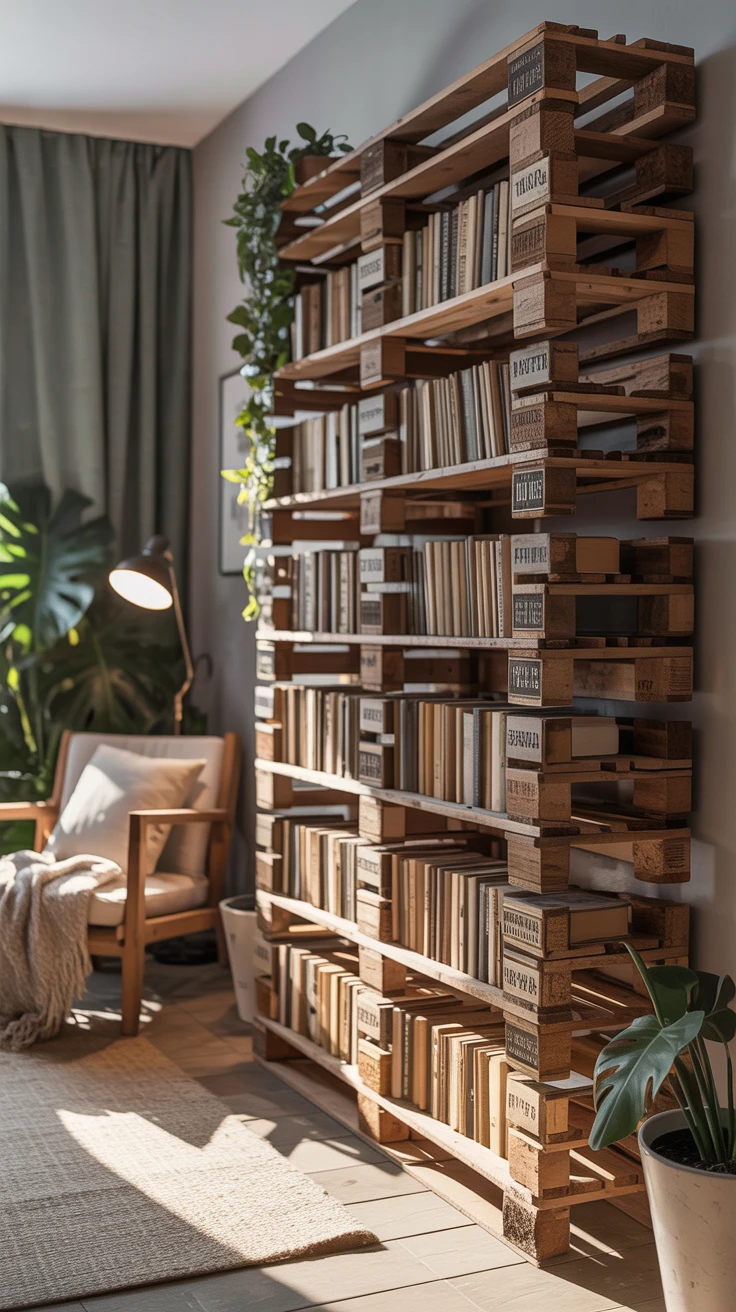
Pallets offer a sustainable and budget-friendly material for creating industrial-chic bookshelves. My pallet bookshelf cost less than $20 to make but looks like an expensive designer piece.
- Disassemble pallets carefully to preserve the wood
- Sand thoroughly to remove splinters and rough edges
- Check for a “HT” stamp indicating heat treatment (safer than chemical treatment)
- Consider a clear sealant to preserve the rustic look
Pro Tip: Wear heavy gloves when working with pallets—I’ve had countless splinters from handling them bare-handed. Also, use a pry bar rather than a hammer for cleaner disassembly.
9. Assemble an Adjustable Modular Bookshelf

Modular bookshelves allow you to reconfigure your storage as your needs change—perfect for renters or those who like to refresh their space regularly.
- Use identical cube units that can stack in various configurations
- Consider adding doors to some cubes for hidden storage
- Secure stacked units to prevent tipping
- Choose lightweight materials if you plan to reconfigure often
Pro Tip: Take photos of your shelving unit before disassembling for a move or reconfiguration. I once spent hours trying to remember how my complex arrangement fit together!
10. Create a Trendy Industrial Pipe Bookshelf
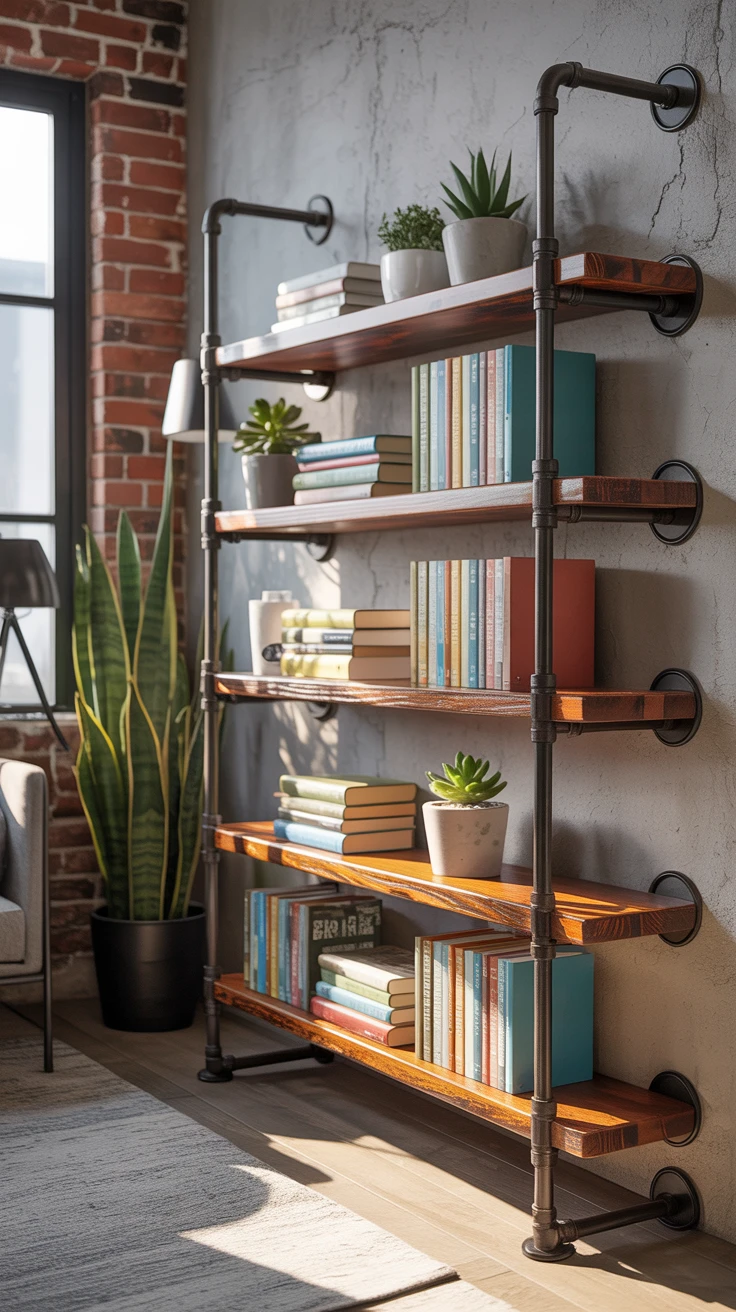
Pipe shelving offers industrial charm with remarkable strength for heavy books. Despite looking complicated, this was actually one of the easier DIY bookshelf projects I’ve tackled.
- Black or galvanized steel pipes and fittings
- Wooden boards (reclaimed wood works beautifully)
- Pipe cutter or have pipes cut at hardware store
- Flange fittings for wall attachment
Pro Tip: Clean new pipes with degreaser before assembly—they often come coated in machine oil that can stain your books and walls. I learned this the hard way when oil transferred to my favorite hardcover!
11. Achieve Minimalism with an Invisible Bookshelf
Invisible bookshelves create the illusion of books floating on your wall—a perfect solution for minimalist spaces or as an artistic display for special volumes.
- Use an L-shaped metal bracket attached to a hardcover book
- Choose a sturdy sacrificial book as the base
- Stack additional books on top of the base book
- Install multiple units for a floating library effect
Pro Tip: Visit thrift stores for hardcover books to use as your base books. I found beautiful vintage books for less than a dollar each that added character to my display.
12. Use Reclaimed Wood for a Sustainable Bookshelf
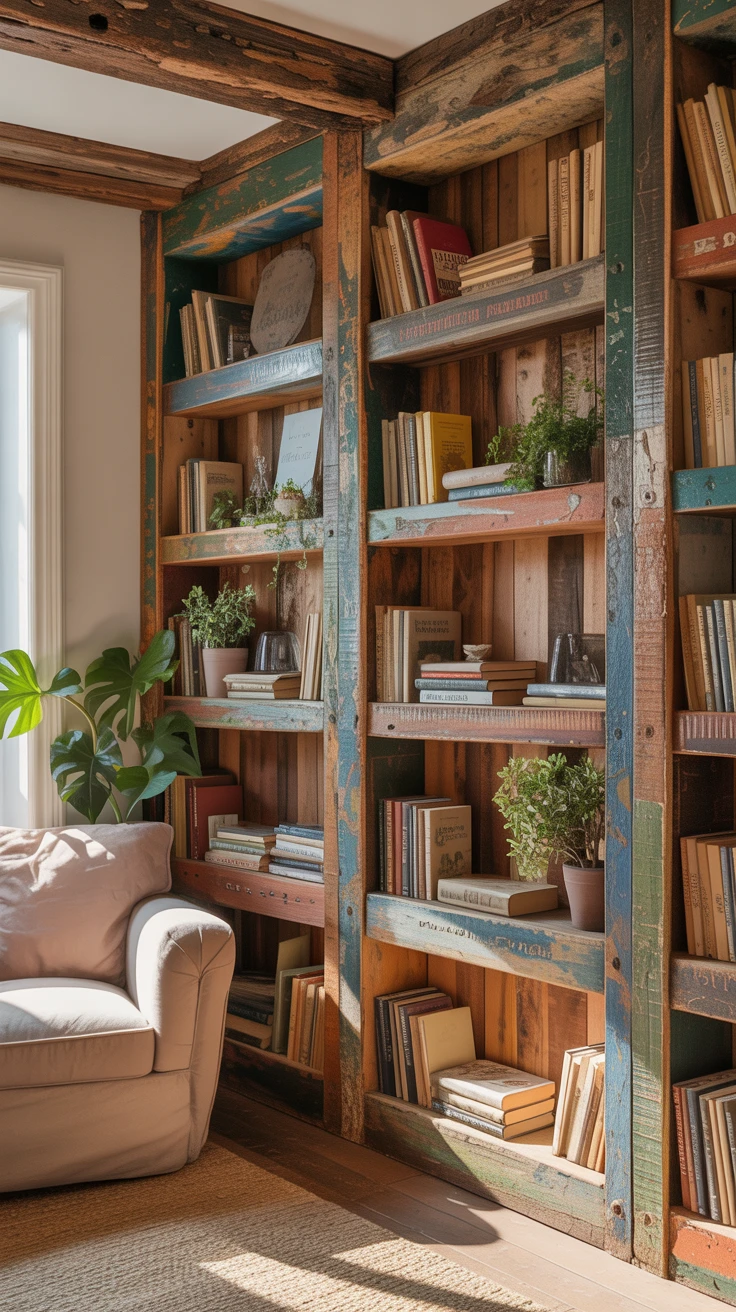
Reclaimed wood adds character and sustainability to your bookshelf project while often being more stable than new lumber due to its age and curing.
- Source wood from architectural salvage shops
- Clean thoroughly and check for nails or staples
- Consider preserving original paint or patina for character
- Apply a clear sealer to prevent further aging
Pro Tip: Test reclaimed wood for lead paint before sanding if it’s from an older building. I use inexpensive lead test kits from the hardware store for peace of mind.
13. Divide and Conquer with a Bookcase Room Divider
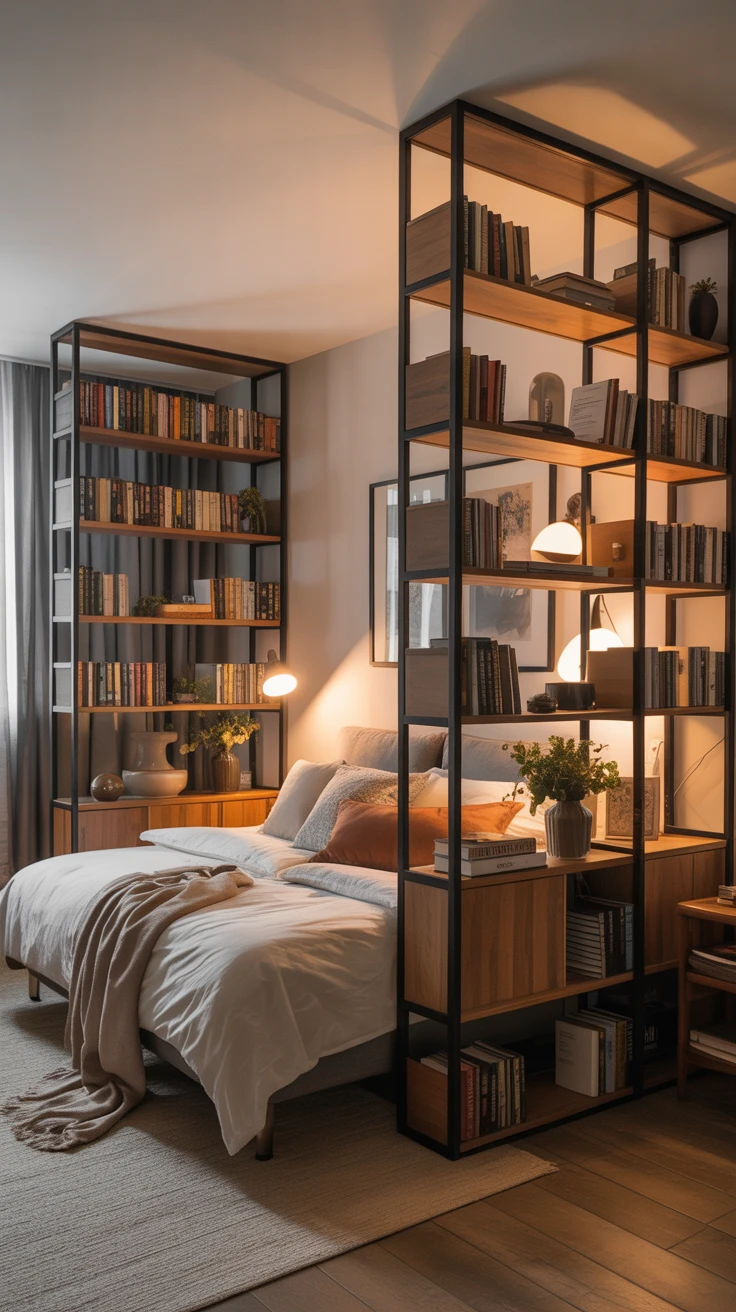
In studio apartments or open floor plans, a bookcase room divider creates separate functional areas while providing storage. This dual-purpose solution was essential in my studio apartment.
- Use an open-backed bookcase to allow light flow
- Anchor to ceiling or walls for stability
- Place heavier items on lower shelves for balance
- Consider casters for bottom if you need mobility
Pro Tip: Arrange books and decorative items on both sides of the divider for a finished look from any angle. I initially decorated only the “living room side” and was embarrassed when guests saw the cluttered “bedroom side”!
Pro Tips for DIY Bookshelf Projects
After completing numerous DIY bookshelf projects, I’ve gathered some wisdom that will save you time, money, and frustration:
- Always measure twice (or three times) before cutting
- Invest in a good stud finder for wall-mounted projects
- Consider the weight of your books when selecting materials
- Use a level for all installations—even temporary ones
- Pre-drill holes to prevent wood splitting
- Account for baseboard depth when designing floor-standing shelves
- Apply felt pads to the bottom of shelves to protect flooring
- Keep shelves under 36″ wide to prevent sagging with heavy books
Frequently Asked Questions
What’s the easiest DIY bookshelf for beginners?
The crate bookshelf is perfect for beginners as it requires minimal tools and woodworking skills. Simply sand the crates, paint or stain if desired, and arrange them in your preferred configuration. Secure with screws or brackets for stability.
How do I prevent my DIY bookshelves from sagging?
To prevent sagging, use thicker wood (at least 3/4″ for spans under 36″), add vertical dividers for support, consider metal reinforcement underneath, and distribute heavy books across multiple shelves rather than concentrating them in one area.
What tools are essential for DIY bookshelf projects?
The basic toolkit should include: a tape measure, level, drill with various bits, screwdriver set, stud finder, sandpaper in various grits, and a saw (hand saw or circular saw). For more advanced projects, a pocket hole jig and miter saw are valuable additions.
How can I make my DIY bookshelf look more professional?
For a professional finish: sand all surfaces thoroughly, round or chamfer edges slightly, fill visible screw holes with wood filler, apply primer before painting, use multiple thin coats rather than one thick coat, and consider adding trim to exposed edges.
Are there any safety concerns with DIY bookshelves?
Always anchor tall or heavy bookshelves to the wall to prevent tipping, especially in homes with children or pets. Use appropriate wall anchors for your wall type, ensure shelving materials can support the weight of your books, and check for stability before loading with books.